Showing posts with label collapse fabric. Show all posts

Friday, January 6, 2023

Book Launch!

Weaving Outside the Box: 12 Projects for Creating Dimensional Cloth is now available for purchase! It's been a long road but at last it's ready to launch.

Front and back covers (right and left respectively) for printing

The book is 122 pages long, in full color, with a soft cover and a coil binding so that you can lay it flat as you read and weave. It's also available as an eBook and in hardcover. You'll find all these options on this blog site under the page titled "Publications for Purchase".

Here's a brief description:

"Color and structure are key elements in weaving, of course. But we often overlook the importance of texture. Dimensional fabrics, with their pleats, puffs, and curves, take us 'off the grid', reflecting the organic forms of nature. We can both see and feel the tactile quality of dimensional cloth, which adds much to the beauty of handwoven fabric.

"This book gives you tools to optimize texture in your weaving. Starting with background on the techniques involved, it then offers step-by-step instructions for 12 projects for four to 16-shaft looms: four for beginning weavers, four for intermediate weavers, and four for advanced weavers. As a bonus, there are two patterns that allow you to weave three different projects on a single warp.

"Weaving Outside the Box provides the tips and resources you need to move beyond the two-dimensional plane and rectilinear patterns of warp and weft."

Here are a few of the projects offered.

Among the four projects for four shafts: woven shibori using fulling techniques


Doubleweave layers and ruffles for eight shafts 
using differential-shrinkage techniques


Deflected doubleweave on 16 shafts 
using differential-shrinkage techniques

There are diagrams and even microscopic photos of yarn throughout the book, to help you understand the mechanics behind these designs, all using some combination of active and inactive yarns, structure, and finishing.


I will teach a workshop straight from the book June 11-16 at the Michigan League of Handweavers Conference in Holland, MI. Participants will choose one of the 12 projects from the book and start by weaving up samples so they can learn how to finish their projects to get just the right textured effects.

Dimensional cloth is a specialized area of weaving, one that is sometimes overlooked but has been woven for centuries. My book begins -- and this blog post concludes -- with this quote from Anni Albers, from her definitive book, On Weaving

All progress, it seems, is coupled to regression elsewhere. We have advanced in general, for instance, in regard to verbal articulation -- the reading and writing public of today is enormous. But we certainly have grown increasingly insensitive in our perception by touch, the tactile sense.

I hope my book inspires weavers to explore all three of the wonderful tools we have in our craft: those of structure, color, and the tactile sense.

Thanks for reading!


Detail of Echo threading in four-color doubleweave on 28 shafts, 
using cotton/stainless-steel yarn for one of the wefts 
to achieve crinkled layers


Wednesday, June 22, 2022

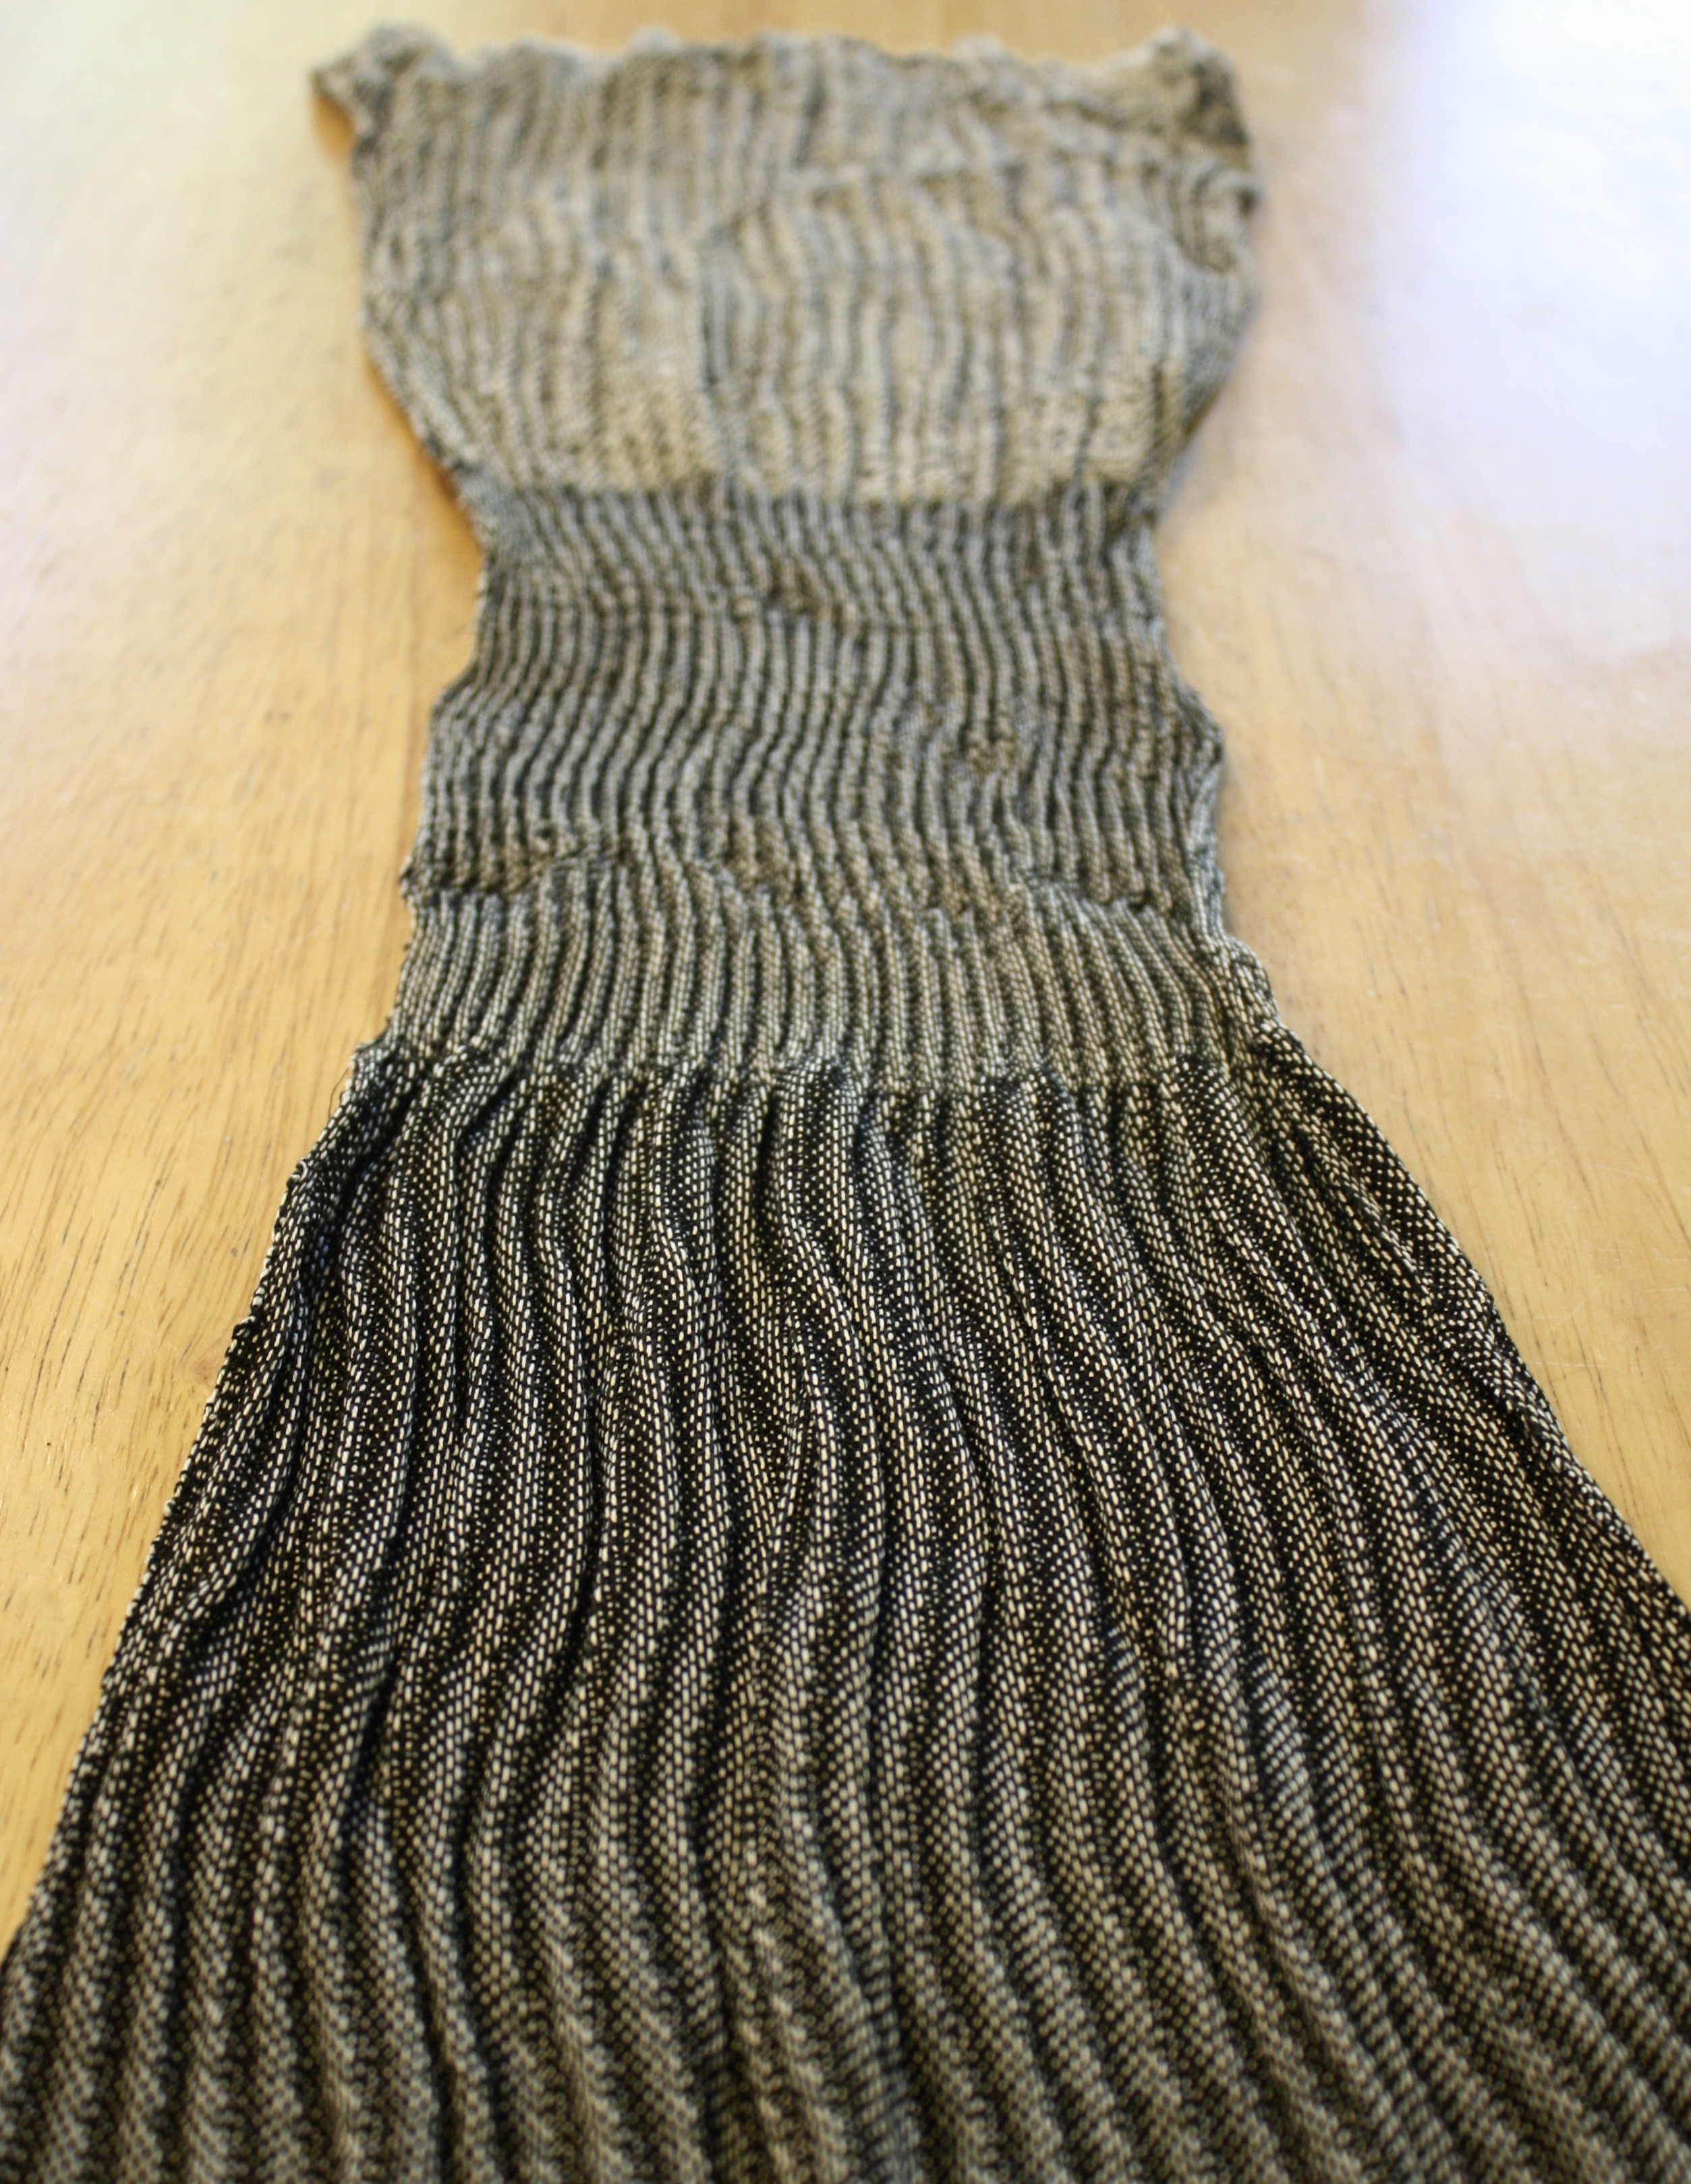
Weaving on the Curve in 20/2 cotton


Sampling on 16 shafts with different wefts (top to bottom): 
S-twist linen crepe, Z-twist silk crepe, 60/2 spun silk

16-shaft sample with 60/2 silk weft after washing (and coaxing the pleats to curve)

Same sample with pleats before washing

Take note: I wove these samples on the end of a black-and-white warp that was left over from another project. Really, I was just curious about how to weave curving pleats. No way would I use black and white yarns if I were weaving this for a garment! 

Anyhow, I'll get to the point. As we all know from that inspiring book, Fabrics That Go Bump, when you weave a turned twill on 8 shafts or more, you can create vertical pleats. The secret lies mainly in the structure, which is basically a turned twill that alternates between weft-emphasis and warp-emphasis blocks.

Here's a look at a design from this book by the late, great Erica de Ruiter. I found it inspiring.


De Ruiter designed her treadling in the liftplan, which looks like this.


I think it's ingenious -- but I decided to use a networked curve instead, which looks like this in the liftplan.


Truthfully, I think de Ruiter's design is better, as there are more warp floats per pleat. But why compare? The important factor is that both designs allow for floats of three in the warp yarns alternating with floats of three in the weft yarns.

How does this structure create pleats? It's the mechanics of how yarns relax after washing, really. The weft floats (in white on both drafts) relax and draw in, creating a concave shape, pulling on the warp floats on the other side (which are vertical, so they align vertically, sort of like Venetian blinds folding up on themselves, and create convex pleats).

The ratio of grists -- warp vs. weft -- can help with this effect, in my experience. In my sample at the beginning of this post, the warp is 20/2 cotton threaded in black and white at 8,400 yards/pound, while the weft at the bottom of the photo is 60/2 silk in black at 14,800 yards per pound. So the ratio in grist of warp to weft is about 5:3. I prefer a ratio of about 2:1, but I didn't have any other yarns in my stash. (You know how that goes.)

Another way to achieve pleats is to use the same design (warp floats alternating with weft floats) with an "energized" or "active" weft, such as crepe or overtwist or elasticized yarn. First, I tried an S-twist linen crepe from Lunatic Fringe. (You'll see this sample, vaguely, at the top of the photo at the beginning of this post.)

Gevolve Yarns linen crepe in S-twist at 10,400 yards/pound

The sample is definitely textured and pleated, but you can't see curves at all.


I don't really have a theory on this, other than that the yarn draws the warp in so much that the curves are lost because they are too subtle.

The same thing happened when I tried silk-crepe yarn from Habu, a Z-twist gossamer-weight yarn that's about 33,000 yards/pound (and not at all fun to wind on a pirn, because it's constantly plying backwards on itself). The photo at the beginning of this post shows this sample in the middle of the fabric.


The spool above has lasted forever: I purchased it back in the day when Habu was based on West 29th Street in Manhattan! This yarn shrank the sample about 50% width-wise -- again, overkill as far as the curves I was looking for.


What did I learn from this? 1) That it's useful to design in the liftplan, especially when you want precise curves and patterns. 2) That you don't necessarily want to use active yarns for collapse effects, especially when you're working with turned twills. 3) That sampling, sampling, and sampling some more always pays off.

Perhaps, like me, you tuned in to "Textiles and Tea" with Kathi Grupp from HGA interviewing Anita Luvera Mayer on Tuesday, June 21. That was a big part of Anita's message: We need to sample and, even if we feel our samples aren't successful, we have learned something, so we've moved forward. I've certainly learned something, even if I'm not thrilled with the results.... But then again, maybe a long scarf with curving pleats, using de Ruiter's liftplan along with a variety of active and inactive yarns in the warp? In beautiful colors?

Thanks for reading!


Monday, January 17, 2022

Through the Weaving Glass: Some Thoughts on Counting Picks...


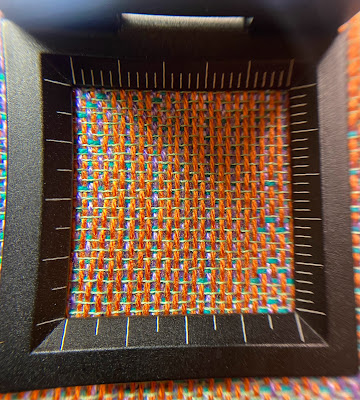
The photo above shows a "pick-glass," outlining a square inch of cloth. I took the photo with my iPhone, shooting through the lens of the pick glass, and the image is surprisingly clear.

(OK, I have to confess here that I always thought it was spelled "pic" -- until I looked up "pick-glass" on Google. Yes, it's true. Now I know.)

If you're thinking this is a useful device and you want one, you can find them on Amazon, of course, by searching for "counting glass" or "thread counting glass" or "pick counting glass." I'm sure they're used all the time in the textile industry. For weavers, it's a very handy device. 

In the photo above, I have woven what looks like a 24 picks per inch on a warp sett at 24 warp ends per inch -- which would be a balanced weave, except that I'm using different weights of yarn in the warp and the weft. (The orange warp ends are 16/2 bamboo and the pale green weft yarns are silk/stainless steel at an unknown grist, something like 20,000 yards per pound.)

Also, this is double weave, so there are another 24 warp ends and 24 weft picks on the back side of the cloth. You can see some of the warp and weft peering out in lilac and turquoise, respectively. So we're really talking about 48 epi and 48 ppi total. I decided to use my pick glass to reassure myself that I wasn't beating the gossamer-fine weft too hard.

Because weavers are persnickety, right? And rightfully so, as we want our cloth to have a good hand and our weave structures to look just so, whether it's plain weave or satin or twill or whatever. For that reason, weaving patterns will often specify ends per inch and picks per inch along with the type of yarns to be used.

If we're not paying attention, we wind up with this:

Deflected double weave with squashed motifs, woven by me when I wasn't thinking

Instead of this:

Deflected double weave with balanced motifs, after I started beating gentler

Here is another sample, a well-balanced 12-shaft shadow-weave design of mine, woven by Maryann Ariizumi:


Shadow weave should be sett and beat as a balanced weave, because the structure is essentially plain weave, with floats of 2 ends or picks here and there. Warp and weft yarns are identical, typically.

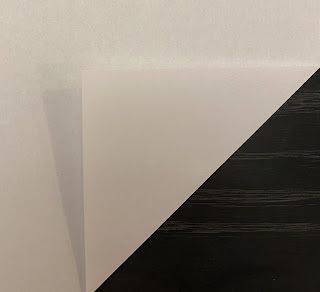
One way to achieve this kind of balance in your weaving is to simply eyeball the pattern. Twills, for instance, should rise at a 45-degree angle. Another way is to take a piece of paper and fold it in at the corner, like this: 


If you fold it carefully, so that the top of the fold falls along the horizontal and the side of the fold falls along the vertical, you'll get a 45-degree angle, which you can just place on top of your fabric to compare it with what you've woven. Works great!

But other times, when you're weaving with a fine warp and/or weft and you're aiming for a specific number of picks per inch, you will definitely want to count threads. 


A pick glass also helps in analyzing structures and trying to check out errors or the direction of yarn twist (S or Z). It's very comforting to know for certain what's going on.

In fact, I carry mine in my purse, along with a 6" ruler. How's THAT for the definition of a weaving nerd?

Same fabric as in the first photo, through the camera lens

Thanks for reading!


Thursday, August 16, 2018

Deflected Double Weave with Fulling Techniques on 4 Shafts: How to Weave a 'Puzzle Scarf'


I call this a "Puzzle Scarf" because the two layers intertwine in a puzzling way. But the scarf is simple to weave, requiring just 4 shafts. 

The intertwining layers you see are one of the distinguishing characteristics of the structure known as "Deflected Double Weave." Unlike Double Weave -- where the layers are each woven (usually in plain weave) and sit one on top of the other -- in Deflected Double Weave, the layers are alternately plain weave and floats, with the floats being "deflected" around the woven sections. And those floats will alternately twine above and below each other, so that the two layers still form a single piece of fabric.

Collapse techniques -- more accurately in this project, fulling techniques -- add more to the puzzle of this scarf, because without shrinking, it would look like a piece of gauze. The texture is achieved by fulling the yarn, so that the floats create woolen cords (I sometimes call them "dreads") that form interesting patterns. I love the effect and I thought I'd share the pattern on my blog -- because it's surprisingly simple.

For so many of my fulling projects, my go-to yarn is JaggerSpun 18/2 merino. Collapse techniques typically require fine yarns, and this is a lace-weight yarn at 5040 yards per pound. When it's sett loosely (another rule for collapse fabrics), the merino fulls beautifully as it's washed and agitated with hot water and soap.

Here are the instructions:

Warp: Wind a 4-yard warp (or any length you choose) of 240 ends consisting of five stripes alternating in two colors: [48 ends of color A and 48 ends of color B] twice and ending with 48 ends of color A. 
Sett: 16 ends per inch for a 15" width in the reed
Weft yarns: same two yarns as warp
Picks per inch: 16 

Here's the drawdown:


Looks pretty simple, right? Here's what it looks like as you begin weaving:


First you'll weave at least 8 picks of waste yarn as a base for your fabric. Then leave a space of about 3" before you begin weaving the scarf. (I inserted a stick shuttle to help me create a straight fell line as I began the scarf.) The waste yarn will be cut off when you have finished fulling the scarf, leaving a neat line of cords for fringe.

Begin by weaving 8 picks in plain weave. Then start layer A (mine is in burgundy), weaving 48 picks at 16 ppi. The fabric looks like gauze on the loom. But the good news is you don't really have to worry about neat selvages, since the fabric will shrink so much it won't make any difference!


Next weave your second layer (mine is in blue). Note that the selvages on both sides of this layer are 3" inside the selvages for the first layer. That's another characteristic of Deflected Double Weave: the layers don't have the same selvages. You can see in the photo below where the blue weft starts and ends. 


I recommend cutting off as you complete each color -- unless you don't mind the unruly weft yarns that you carry along between layers when they're not weaving. If you DO choose not to cut off, understand that the second layer (the blue layer here) has to start with the shuttle UNDERNEATH the burgundy layer. Otherwise, your blue weft yarn will float on top of your fabric when all the others are floating underneath.

Here's the easy part: Just keep weaving, keeping in mind that you will have about 30% shrinkage length-wise after you've fulled your scarf. That means you'll want to weave 100" for a 70" long scarf. 

When you've woven your desired length, finish as you started: weave 8 picks of plain weave in color A, then leave about 3" of warp unwoven, then weave 8 picks of waste yarn. (Again, you'll cut this off after finishing so that you'll have fulled cords for the fringe and they will be all neat and tidy.)

Now for the fulling, which is really the toughest part of making this scarf.

Wash, agitate and scrub freely in hot water and gentle dish liquid or shampoo. After the first 3 or 4 minutes of this, take it out of the water and rinse it in cold water to make sure that no parts are adhering to other parts of the scarf. (Although you want the unwoven warps and wefts to make cords, you don’t want them to fuse with other parts of the scarf, which happens when you're not paying attention.) The scarf will look messy and stringy at first, but continue to scrub, agitate, rinse and then stretch it out on a flat surface, pulling the two plain-weave sections horizontally so that they lie flat. (Basically, you are coaxing the fabric into the shape you want.)

You need to repeat this process for a while -- at least 5 or 6 times -- to get the cords to become substantial. The goal is that these floats fuse together, becoming thick and solid so that you can no longer see the individual threads.

When it's fulled sufficiently, lay the scarf on a flat surface to dry. After it's dry, cut off the waste yarn so that the fringe (which should be cords at this point) is all the same length and looks even. Iron the scarf on "wool" setting to get a smooth look, where the cords and plain-weave sections lie flat.

Snip off any single yarns that have not been fulled into cords.

There you have it! You've solved the Puzzle Scarf. 


Saturday, August 19, 2017

More Collapse-Fabric Samples: This Time, Double Weave with 30/2 Silk and 30/1 S and Z Twist Wool


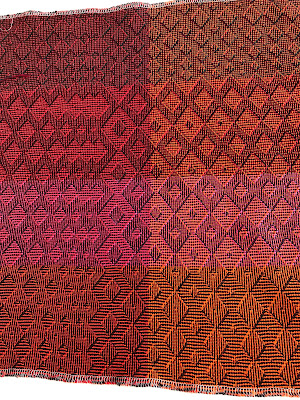
To me, that looks like happy cloth: All crinkled and intricate with blocks in black that remind me of fish swimming upstream.

So often, collapse fabrics mimic nature, with its organic forms and energy. Nothing flat or two dimensional about it, which is why I love it.

The samples I'm sharing in this blog post hark back to a workshop I took in London with Ann Richards, author of Weaving Textiles That Shape Themselves. That workshop was in 2014 and it continues to inspire me.

One of the drafts Ann shared with us was a double-weave structure on 8 shafts using a warp of 30/2 silk and 30/1 Z twist or S twist wool -- your choice -- to create alternating layers of silk and wool. The weft was the same -- and you could again choose either 30/1 S twist or 30/1 Z twist wool for the second layer. (If you chose the same twist for both warp and weft, you would get a more subtle collapse effect after washing. If you used yarns with twist in opposite directions for warp and weft, you would get a greater collapse effect. I used 30/1 Z twist in the warp and 30/1 S twist in the weft.)

Here's Ann's original structure.

Here are my samples.

Front before washing

Back before washing

Front after washing

Back after washing

Pretty cool, huh? As always, I stand in awe of the laser-sharp focus that Ann brings to her designing. I tried my hand at modifying the tie-up and treadling, so see if there were some new forms I could create from this. First I decided to weave linear stripes.

Here's the drawdown, same threading.

And here are my results. In order of appearance: front and back before washing and front and back after washing.


The vertical pleats on the front are crisp, which I like very much -- but the back also has some visual appeal. There's potential here, perhaps to develop a draft that turns the stripes into boxes. More playing with Fiberworks, which I don't mind at all.

(As I write this, I realize that this post is mostly photos. But that's what we do, right? Create visual art that is often hard to describe verbally, although we do the best we can.)

So here's the last drawdown, this time with interrupted lines of black on the front. The finished fabric can be seen in the image I started with in this blog post.

And here's the fabric, again showing front and back before washing and after washing, in that order.


So often for me, weaving samples prompts as many questions as it answers. What can I do next? What kind of garment would this make? Would it work with painted warps? How can I alter this structure to make it appealing in a new way? I never considered myself to be a weaver who follows the code of "Sample, sample, sample" -- but I'm beginning to see the benefits of doing so.

And so, dear reader, beam on! And thanks for visiting.

Monday, May 15, 2017

Still More Collapse Cloth -- This Time on 8 Shafts


This summer, for me, will be all about collapse fabrics: I'm teaching a workshop at MAFA and a workshop at the Hartford Artisans Weaving Center, plus I will give a lecture on the topic to the New York Guild of Handweavers.

To prepare, I have been weaving up lots of samples and learning A LOT from the results. (Re-learning a lot, too -- for example, that sett can make the difference between a good fabric and a wonderful fabric. We all know this, but we need to be reminded, particularly if a project should be re-sleyed at a different sett and we get -- well, lazy....)

Anyhow, the samples I've blogged about to date have all been on 4 shafts, because that's the focus of my first workshop at MAFA. In Hartford, we'll be working on both 4 and 8 shafts, so now I've begun sampling on 8. Here are some photos. 


I call these "Before" and "After" shots. The photo above is a "Before" shot of fabric just off the loom. I got the draft from a workshop I took a few years ago in London with Ann Richards, author of Weaving Textiles that Shape Themselves. The warp in this case uses both wool/stainless-steel yarn (the taupe-colored warp, available from Lion Brand and from Habu) and 16/2 bamboo (in red and orange). The weft is 72/2 linen (to give the fabric stiffness) alternating with the wool/stainless yarn.

Here is the "After" photo:


In this case, you have two elements that make this a dimensional fabric: structure and energized yarns. The structure is plain weave with floats alternating weft-wise and warp-wise, so that the floats make room for the fabric to pleat in and out. The wool/stainless draws in and twists when washed, which encourages the pleats to form. Finally, the stability of the linen weft adds crispness to the fabric. Pretty clever, huh? All thanks to Ann, who approaches her art with the mind of a scientist.

Another fabric, this one an 8-shaft double weave, pictured in its "Before" state, showing both front and back views:


The red sections are 18/2 superfine merino from JaggerSpun, which fulls beautifully when hand-washed. The black is 24/2 superlamb from JaggerSpun, which resists fulling because it's a superwash wool. Here's what it looks like, front and back, after hand washing in warm water and agitating with dishwashing soap:


To be honest, the black squares on the front of the fabric don't "pop" the way I had hoped. I was looking for a real dimensional "pouf" in the cloth -- but still I think it works.

Here's another structure from the same warp, before washing, front and back, same yarns.


And after washing:


This sample had a lot more texture, thanks mostly to the floats on the back. It's very thick, suitable for a warm jacket or coat.

If you're interested in any drafts, let me know. It's great add texture to your fabric! And here's one parting shot, of another sample just completed, using the same warp and weft as the first sample in this post but with a different treadling. (This is the sample that you see in the close-up photo that begins this post.)


Happy shape-shifting, y'all!